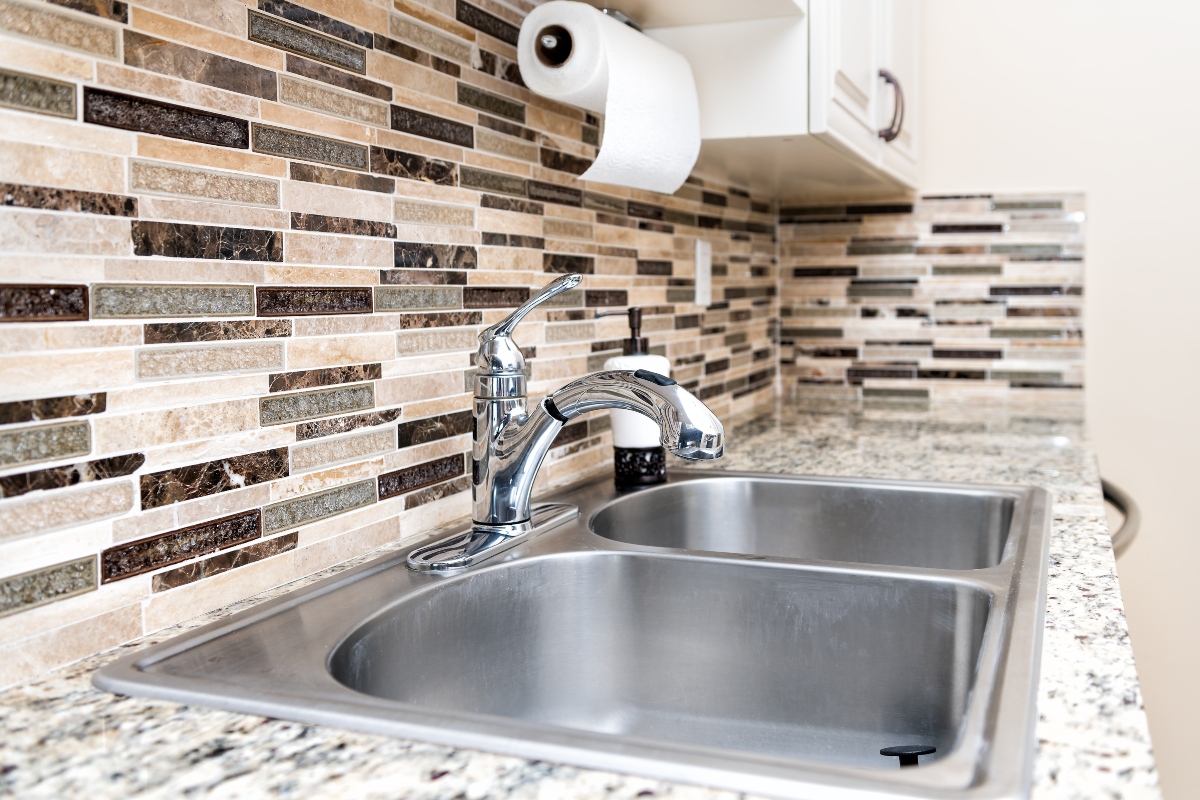
It’s interesting how the kitchen backsplash went from a small piece that protected walls from splashes that occur during cooking to a statement piece as part of the larger kitchen design.
While it’s not necessary to get overly fancy with your new backsplash during your kitchen remodel, it should accentuate the overall design.
Traditionally, square ceramic tiles were the material of choice for backsplashes. Nowadays, you have a variety of materials you can choose from to match whatever kitchen design you have in mind.
Let’s get this article started with the first step for a backsplash changeover.
How to remove a kitchen backsplash
To get this done, you’ll need a hammer, putty knife, utility knife, a sander, drywall sanding pad, and a drywall join compound.
Then, you’ll need to remove any outlet covers and turn off the electricity to the kitchen.
Next, use the hammer and putty knife to carefully separate the tiles (or whatever material) from the wall.
Once the tiles are removed, you’ll see either an incredibly hard (thinset) or semi-soft adhesive. For the thinset, use your putty knife to scrape it off. It’ll be fairly difficult.
For the semi-soft adhesive, you can use sandpaper.
For any holes that were made in the drywall while you removed the backsplash, fill them in with the drywall join compound and sand it smooth. Allow it to dry fully.
Finally, you can sand the entire wall with 120 grit sandpaper on a drywall-sanding pad.
If you plan on putting a new backsplash in the same spot, you’ll likely need to use thinset adhesive during installation.
Popular backsplashes for your kitchen
-
Ceramic tile: Still the most popular option for a backsplash. You can get them in glossy glazed, matte glazed, hand-painted, metallic, mosaic, and other styles. Ceramic tile tends to be cheaper, easy to replace, and easy to clean. However, the tiles crack sometimes. So, keep extras on hand.
-
Porcelain tile: Porcelain may not have the variety of designs, patterns, or colors but it lasts longer and doesn’t need sealed. Just be prepared to pay a little more.
-
Glass tile: If you like the additional style options and want to add another variable to your design, glass tile can make for a very unique backsplash. Not only are there many shapes and colors to choose from, you can choose different reflectivity options! There’s glossy, frosted, matte, and iridescent. However, glass tiles cannot be repaired (only replaced), replacement tiles can be hard to find, they reflect sound, and are heavy so your walls may need reinforced before installation.
-
Stone tile: Stone backsplashes are fast becoming a popular choice as they add resale value to your home. There’s all kinds of stone to choose from. However, check with the professional performing your kitchen remodel or the place you’re buying the stone from to see how soft the stone is. Softer stone will be subject to scratches or heat damage. Stone also needs to be resealed every year or it will be subject to stains and discoloring.
-
Stainless steel: Stainless steel kitchen backsplashes are sleek looking, reasonably priced, and easy to clean.There’s also different textures to choose from for added originality. However, stainless steel shows fingerprints and any mess that may splash onto it. It can also be dented or scratched easily.
-
Thermoplastic: Thermoplastic backsplashes look more expensive than they are and provide lots of versatility for design. This material is easier than others to DIY, but also dents and scratches easily.
-
Peel-and-stick tiles: Vinyl peel-and-stick tiles are obviously very DIY friendly. Although there are more materials becoming available that may require tools for installation. There’s obviously plenty of colors and styles to choose from. The drawbacks are durability and a lack of added value.
Kitchen backsplash ideas
With everyone wanting unique designs in their homes and the seemingly endless amount of materials you can use for your kitchen backsplash, your backsplash is a perfect place to make a statement. Here are a few kitchen backsplash design ideas for some inspiration:
-
Larger size tiles
-
If your countertop is neutral, consider a pattern on your backsplash
-
Use color to convey your personal style
-
Use a slab of your material (if possible) instead of tiles
-
Use a mixture of materials if they pair well
-
Take the backsplash to the ceiling where there are no cabinets to stop it
How to install a backsplash in the kitchen
-
Measure your wall to get the square footage of tile you need
-
Clear your countertop and protect it with cardboard so it is not damaged during installation of your backsplash and shut off power to the kitchen
-
Follow the steps above for removal of your old backsplash
-
Pre-lay your tile by placing it across the wall and make your starting and end points with pencil
-
If you need to, cut your tiles to fit with tools appropriate for your material
-
Prepare your mortar per it’s instructions
-
Apply your mortar, at first, on a two-foot section of your wall to make sure your trowel works with the tile your installing. Then continue to work in small sections to prevent the mortar from drying or forming a “skin.”
-
Begin placing tiles along with wall using the lines you made during pre-lay. You can use tile spacers to keep the tiles lined up. When placing tile, lightly slide the tiles back and forth to help the tiles settle into place. Keep an inch or less of space between the tile and your cabinets. If it’s larger than an inch, cut extra tile to fill the space. If it’s smaller than an inch, you can use moulding to fill it.
-
Allow mortar to dry (usually 24 hours)
-
Wipe your tiles clean with water, remove any spacers, and apply grout. It may take 1-3 days to dry.
-
Apply grout sealer and let dry
-
Replace your countertop items and turn the power back on!
Who can help with a kitchen backsplash in the Springfield, MO area
If you don’t feel comfortable installing your own backsplash, Top Tier Kitchens & Baths are the kitchen remodel experts in the Springfield, MO area. We maintain an A+ rating with the Better Business Bureau and earned the 2019 Better Business Bureau Torch Award for Ethics.
Give us a call at 417-887-1100 or contact us here.


